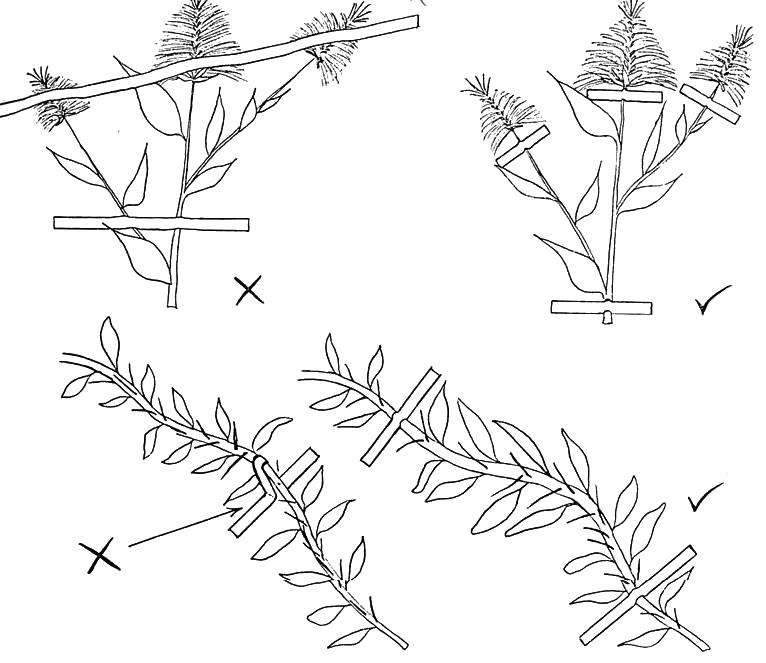
Figure 6
Correct use of mounting tape on specimens